CMP Process Steps: How Chemical Mechanical Planarization Works
A detailed, step-by-step breakdown of every phase in the CMP process — from wafer loading and slurry chemistry to endpoint detection, post-clean, and metrology — written for process and integration engineers.
Process Overview & Governing Physics
Chemical Mechanical Planarization is a wafer-surface finishing process in which a rotating polishing pad wetted with chemically active slurry simultaneously etches and abrades the wafer surface to achieve global flatness. The process is governed at its most fundamental level by the Preston equation, an empirical model that accurately predicts material removal rate (MRR) under a wide range of conditions:
The self-planarizing nature of CMP arises directly from this relationship: surface high points (topography peaks) experience a higher local contact pressure than recessed areas, so they are preferentially removed at a faster rate until the wafer surface is globally flat. This mechanism operates independently of pattern density in an ideal system, though in practice, pattern-dependent effects (dishing, erosion) require careful process tuning.
Step 1 — Wafer Loading & Carrier Head Preparation
The CMP process begins before polishing touches the wafer. Proper carrier head setup and wafer loading procedures are the first line of defense against edge damage, backside contamination, and pressure non-uniformity.
Wafer Mounting
The 300 mm (or 200 mm) wafer is robotically transferred from the front opening unified pod (FOUP) to the CMP tool’s load station. A vacuum chuck on the carrier head picks up the wafer and seats it against a flexible membrane — the carrier membrane — which distributes polishing downforce across multiple independently controlled pressure zones (typically 3–7 zones on advanced tools). This multi-zone architecture is critical for correcting the natural center-to-edge polishing non-uniformity caused by pad bowing, slurry starvation at the wafer edge, and the kinematics of the rotating system.
Retaining Ring Setup
Surrounding the wafer within the carrier head is a plastic or composite retaining ring. It serves three functions: it prevents the wafer from ejecting sideways off the pad during polishing; it maintains the slurry film under the wafer edge; and it applies a controllable pressure to the pad surface just outside the wafer perimeter to pre-condition the pad profile before each run. Retaining ring wear — which accumulates over hundreds of wafer passes — must be tracked and rings replaced on schedule to prevent progressive edge uniformity degradation.
Pre-Polish Conditioning
Before polishing begins, a brief in-situ conditioning sweep with the diamond pad conditioner re-opens any closed pad pores from the previous run and ensures a consistent pad surface roughness at the start of the recipe. Skipping this step leads to a high removal rate at the start of polish that decays rapidly as the pad glazes — a common root cause of within-lot removal rate variation.
Step 2 — Slurry Dispense & Chemistry Activation
Slurry delivery to the pad surface must begin before the wafer contacts the pad. Pre-wetting the pad with slurry ensures the chemical reaction is already in a steady state when polishing begins, preventing the “first-wafer effect” — the well-known phenomenon where the first wafer in a batch polishes differently from all subsequent wafers.
Slurry Flow Rate Control
Slurry is dispensed through a fixed arm positioned above the pad center or center-offset, typically at a flow rate of 100–300 mL/min. The centrifugal force of the rotating platen spreads the slurry outward across the pad surface. Too low a flow rate causes slurry starvation at the wafer edge (fast-edge profile); too high wastes expensive consumables without process benefit beyond a saturation threshold. Flow rate optimization is a standard recipe development task.
Chemical Reaction Mechanism
The chemical component of CMP operates in two stages. First, chemical agents in the slurry react with the wafer surface material to form a softer, more easily abraded surface layer. For copper CMP, hydrogen peroxide (H₂O₂) oxidizes metallic copper to Cu(OH)₂ or CuO at the surface. For silicon dioxide, the alkaline slurry (pH 10–11) hydrolyzes Si–O bonds, creating a Si(OH)₄ gel layer. This chemically weakened surface layer is then mechanically removed by abrasive particles — a synergistic cycle that repeats millions of times per second across the wafer surface.
Step 3 — Rotational Polishing Mechanics
With slurry flowing and the carrier head engaged, polishing begins. Both the polishing platen (table) and the carrier head rotate, usually at different speeds and sometimes in opposite directions. This differential rotation creates a complex relative velocity pattern across the wafer surface that — when correctly tuned — delivers statistically uniform material removal at every die position on the wafer.
Pressure Zoning Strategy
Modern carrier heads divide the wafer into concentric pressure zones (inner zone, middle ring, outer ring, edge zone, and retaining ring). Each zone is independently inflated via a pneumatic control system. The process engineer sets a pressure profile based on pre-CMP thickness maps from the incoming wafer measurement: if the center polishes consistently faster than the edge, the center zone pressure is reduced and the edge zone pressure increased to flatten the removal profile.
Polishing Time vs. Endpoint
Some processes use a fixed time-based recipe where polishing is run for a predetermined duration based on known incoming film thickness and measured MRR. More advanced processes use endpoint detection (see Step 4) to terminate polishing when a target condition is met, regardless of elapsed time. Time-based recipes are simpler but more susceptible to lot-to-lot MRR variation from pad aging and slurry lot changes. Endpoint-controlled recipes are preferred for critical layers at advanced nodes.
Pad Conditioning During Polish
In-situ conditioning — where the diamond conditioner disk sweeps the pad continuously or at intervals during polishing — maintains pad surface texture throughout the run. The conditioner cuts micron-scale channels back into the pad surface, reopening the pore structure for fresh slurry uptake. In-situ conditioning is especially important for long-duration polishing runs (e.g., thick ILD planarization) where pad glazing would otherwise cause significant MRR drift.
Step 4 — Endpoint Detection
Endpoint detection is the most technically sophisticated aspect of a modern CMP recipe. Determining when to stop polishing — reliably, wafer-after-wafer — requires real-time measurement of the wafer’s film stack as it is being polished. The two most widely deployed methods are optical interferometry and friction (motor current) monitoring.
Optical Interferometry (OPM)
A broadband white light or laser beam is directed through a transparent window in the polishing platen and pad, reflecting off the wafer surface back to a spectrometer. As the film thickness changes during polishing, the interference pattern in the reflected spectrum oscillates periodically. These oscillations are counted and the film thickness is calculated in real time via Fast Fourier Transform (FFT) analysis. When the calculated thickness reaches the target value, an endpoint signal triggers and the recipe transitions to the overpolish step or terminates.
Friction/Motor Current Monitoring
Different materials present different coefficients of friction to the polishing pad. When the polishing transitions from one layer to another — for example, from copper to the underlying tantalum barrier metal — the friction between wafer and pad changes measurably. This change appears as a step change in the drive motor current of the platen or carrier head. Motor current monitoring is particularly reliable for barrier CMP endpoint detection and is often used in combination with optical monitoring for redundancy.
Step 5 — Post-CMP Cleaning
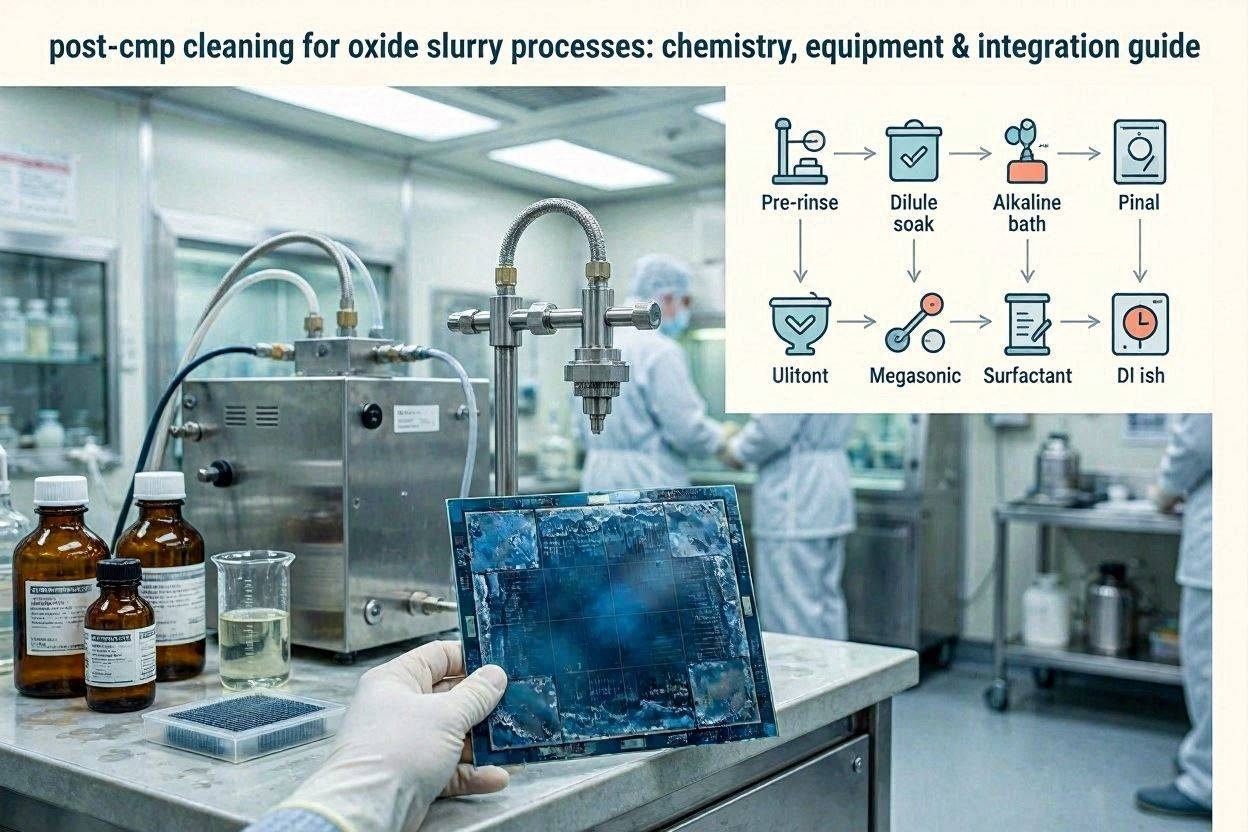
Immediately after polishing is complete, the wafer is transferred — under continuous DI water rinse to prevent slurry drying — to the integrated cleaning module. At this stage, the wafer surface is contaminated with residual abrasive particles, dissolved metal ions, organic residues from slurry additives, and mechanical debris from pad and retaining ring wear. Failure to remove these contaminants completely before the next process step causes yield-killing defects in downstream lithography, CVD, and plating operations.
The post-CMP cleaning sequence typically involves PVA brush scrubbing with dilute acidic or basic chemistry, followed by megasonic rinsing, a final DI water flood rinse, and IPA-assisted spin-dry or Marangoni drying. Full methodology is detailed in our guide: Post-CMP Cleaning: Methods, Challenges, and Best Practices.
Step 6 — Metrology & Wafer Disposition
After cleaning and drying, every wafer (or a statistically sampled subset, depending on the process tier) is measured on a standalone metrology tool. For ILD oxide CMP, reflectometry or ellipsometry measures the post-polish oxide thickness at 49 or 121 sites across the wafer. For copper CMP, XRF or sheet resistance mapping quantifies residual copper and barrier uniformity. The metrology system automatically compares measured values to specification limits and either releases the wafer to the next step, holds it for engineer review, or flags it for rework.
Feedback and Feed-Forward Control
Advanced CMP control systems use feedback control — adjusting the next wafer’s recipe based on the current wafer’s measured result — and feed-forward control — adjusting the current wafer’s recipe based on pre-CMP thickness measurements from the previous deposition step. This closed-loop control architecture is essential for maintaining within-lot and lot-to-lot process stability across the millions of wafers that flow through a high-volume manufacturing (HVM) fab each year.
Key Process Parameters & Their Effects
| Параметр | Типичный диапазон | Влияние на MRR | Effect on Uniformity | Effect on Defects |
|---|---|---|---|---|
| Down force (pressure) | 0.5–6 psi | Linear increase | Zone-dependent | Higher pressure → more scratches, delamination risk on low-k |
| Platen speed | 30-120 ОБ/МИН | Linear increase | Moderate effect | Higher speed → slurry hydrodynamics change; can reduce contact |
| Carrier head speed | 20–100 RPM | Moderate increase | Strong effect (center vs. edge) | Differential speed vs. platen optimizes uniformity |
| Slurry flow rate | 100–300 mL/min | Increases to saturation | Edge uniformity sensitive | Too low → slurry starvation scratches |
| Pad conditioning rate | Continuous / 1–3 sweeps/wafer | Maintains stability | Critical for long runs | Aggressive conditioning → pad debris particles |
| Platen temperature | 20–40°C | Chemical rate-sensitive | Radial gradient if uncontrolled | High temperature → faster corrosion on Cu |
| Slurry pH | 2–12 (material-dependent) | Strong effect on oxide rate | Affects selectivity | Wrong pH → zeta potential collapse → agglomeration |
Recipe Design: Balancing MRR, Uniformity & Defects
CMP recipe development is an exercise in multi-objective optimization. The three primary targets — high removal rate, excellent within-wafer uniformity, and low defect density — are in partial tension with one another. Higher pressure increases MRR but also increases scratch risk. Higher platen speed improves uniformity but reduces the slurry dwell time under the wafer. An experienced CMP process engineer navigates these trade-offs using a structured design-of-experiments (DOE) approach, typically starting with a factorial experiment across pressure, platen speed, and carrier speed before fine-tuning endpoint and overpolish parameters.
Two-Step Cu CMP Recipe Architecture
Copper CMP is universally implemented as a two-step sequence. Step 1 (bulk copper removal) uses a high-selectivity Cu slurry at moderate pressure to rapidly remove the copper overburden down to near the barrier layer level. Step 2 (barrier CMP) uses a barrier-compatible slurry at lower pressure to remove the remaining copper, tantalum/TaN barrier, and a controlled amount of the underlying oxide, achieving the final planarized copper line profile. The two steps often require different pads (hard IC1000-type for step 1, softer for step 2) and separate slurry delivery lines.
Часто задаваемые вопросы
Need CMP Process Support?
JEEZ supplies precision CMP consumables and provides applications engineering support for oxide, copper, tungsten, and advanced-node process development.
Contact a CMP Engineer →